
Heat climate is the perfect time for cookouts at camp, picnics on the park or only a refreshing drink within the yard with buddies. Key to DIY eating outside is preserving your bevvies chilly and meals recent—however that’s simpler mentioned than accomplished on a sweltering day. That’s why we’ve compiled our favourite ideas and tips for packing a cooler, so you’ll be able to hold your drinks and perishables chilled whether or not you’re heading out on an in a single day journey or kicking again within the neighborhood. We’ll increase a (chilly) glass to that.
Choose the Proper Cooler
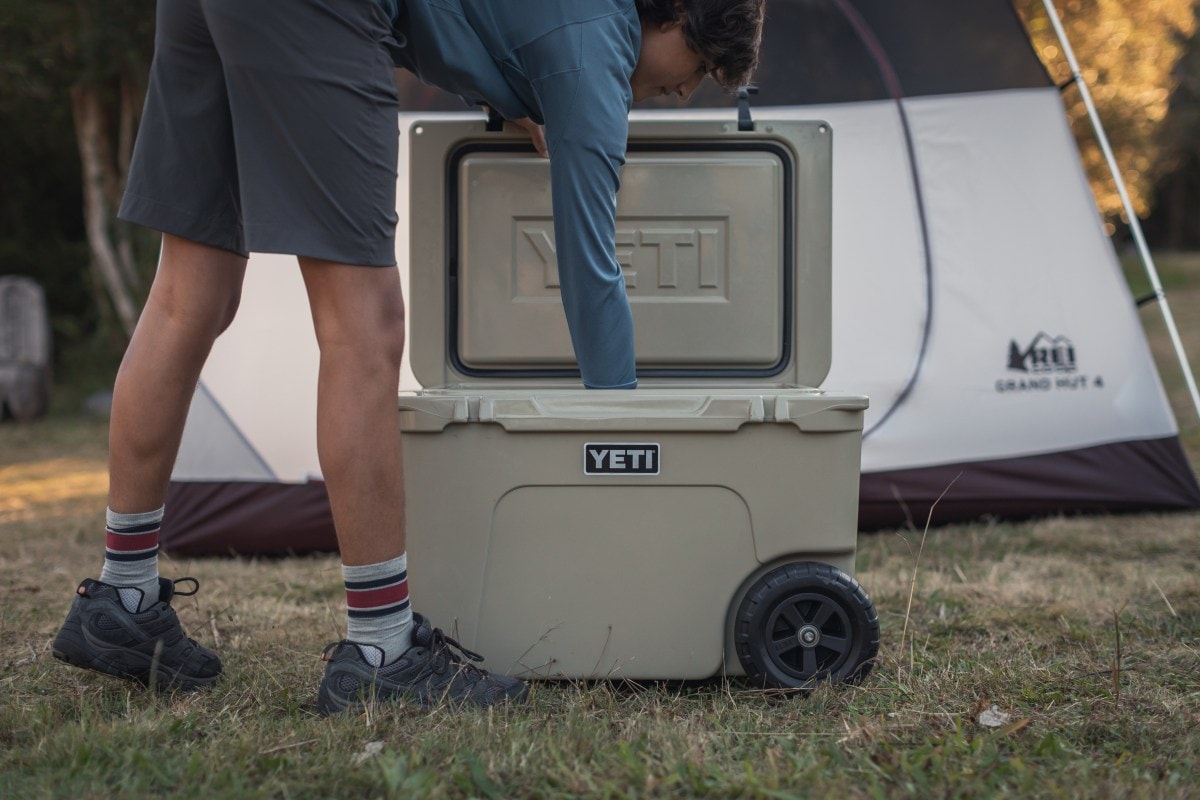
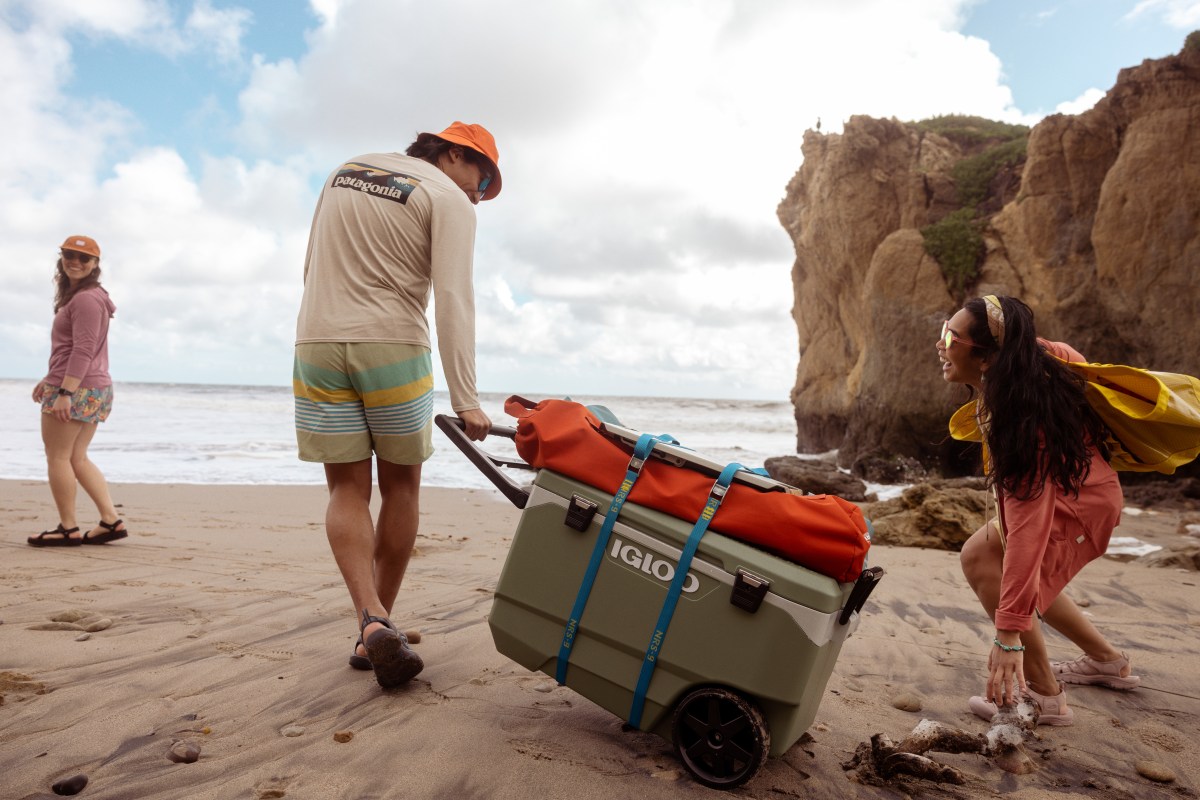
Grabbing essentially the most handy cooler—like an affordable foam one at a grocery retailer—is tempting, however being strategic concerning the chiller you employ will repay with regards to preserving your stuff cool. Two massive components when choosing a cooler are the size of your tour and the space you’ll carry it. Arduous coolers are a greater possibility for longer journeys as a result of they have an inclination to have burlier insulation, which helps hold ice frozen longer. However as a result of all that heft can add weight, it’s greatest if you happen to don’t have to hold it far—as an illustration, a car-camping journey or your yard, relatively than a weekend of backpacking. A mushy cooler is best if you happen to intend to haul it to, say, a far-away campsite as a result of they’re lighter to hold and extra versatile, that means they’ll match extra simply in tight areas, like a tent.
Freeze Your Water Bottles
As a substitute of throwing ice in your chilling system, add a couple of frozen water bottles (ideally reusable ones, although be certain to verify the producer’s instructions on how full to fill the bottle earlier than freezing). They’ll do the work of chilly packs, and you may drink the water in them after they defrost, decreasing the quantity it’s essential to carry. Plus, a block of ice in a water bottle will soften extra slowly than ice cubes as a result of the ice is protected against straight touching heat surfaces.
Strategize the Setup
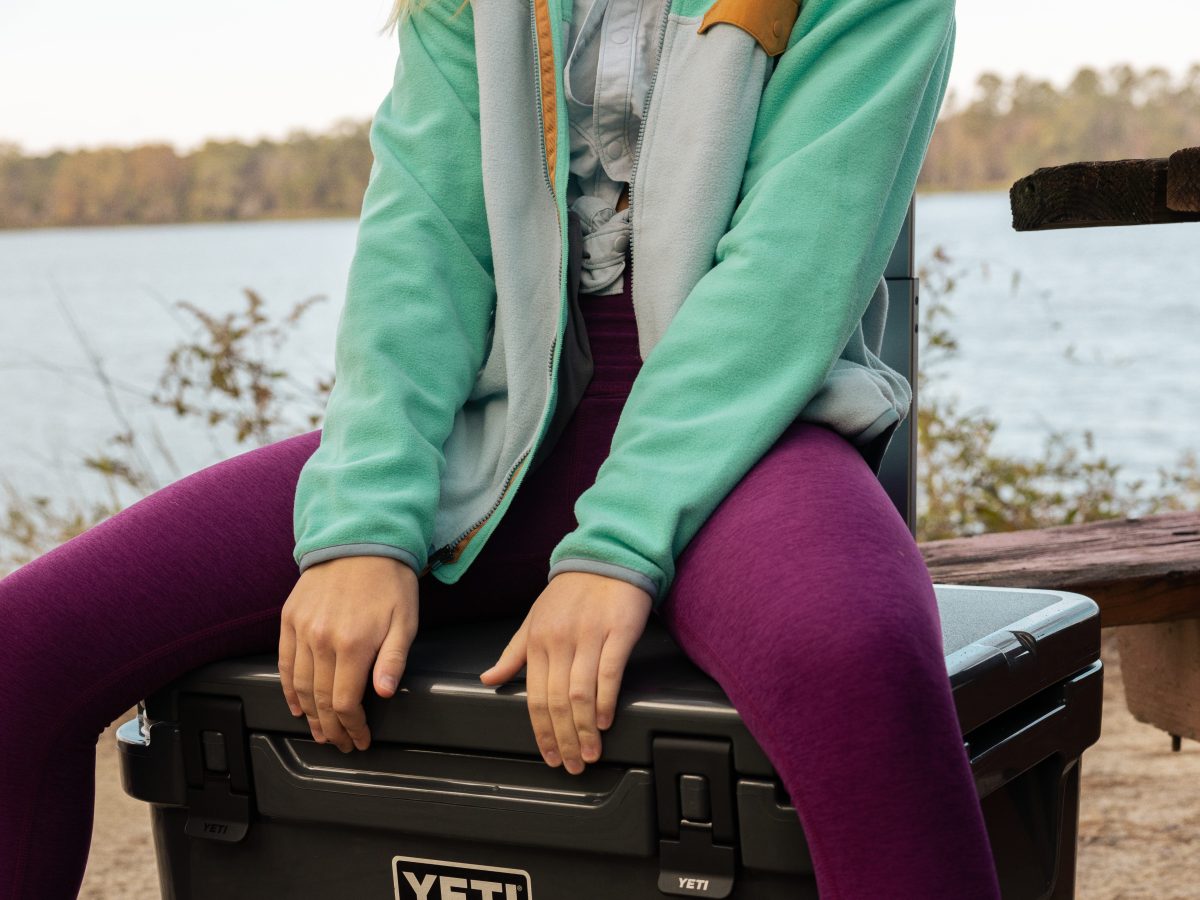
Coolers make nice makeshift seats—till somebody desires to seize one thing from inside one in all them. In case you’re planning for one in all your coolers to double as a bench, keep in mind which one of us will need to sit on. Put less-popular gadgets (like raw components) within the “sitting” coolers and extra fascinating gadgets (like drinks and snacks) in coolers that may’t be simply sat on, like a mushy or smaller cooler.
Prechill Your Cooler
Do you retailer your cooler in a heat storage? The night earlier than your journey—and even the hour earlier than you allow—fill it with a bag of ice, or hose it down with chilly water if you happen to’re in a time crunch. Cooling it off earlier than filling it with recent ice will assist its contents keep colder.
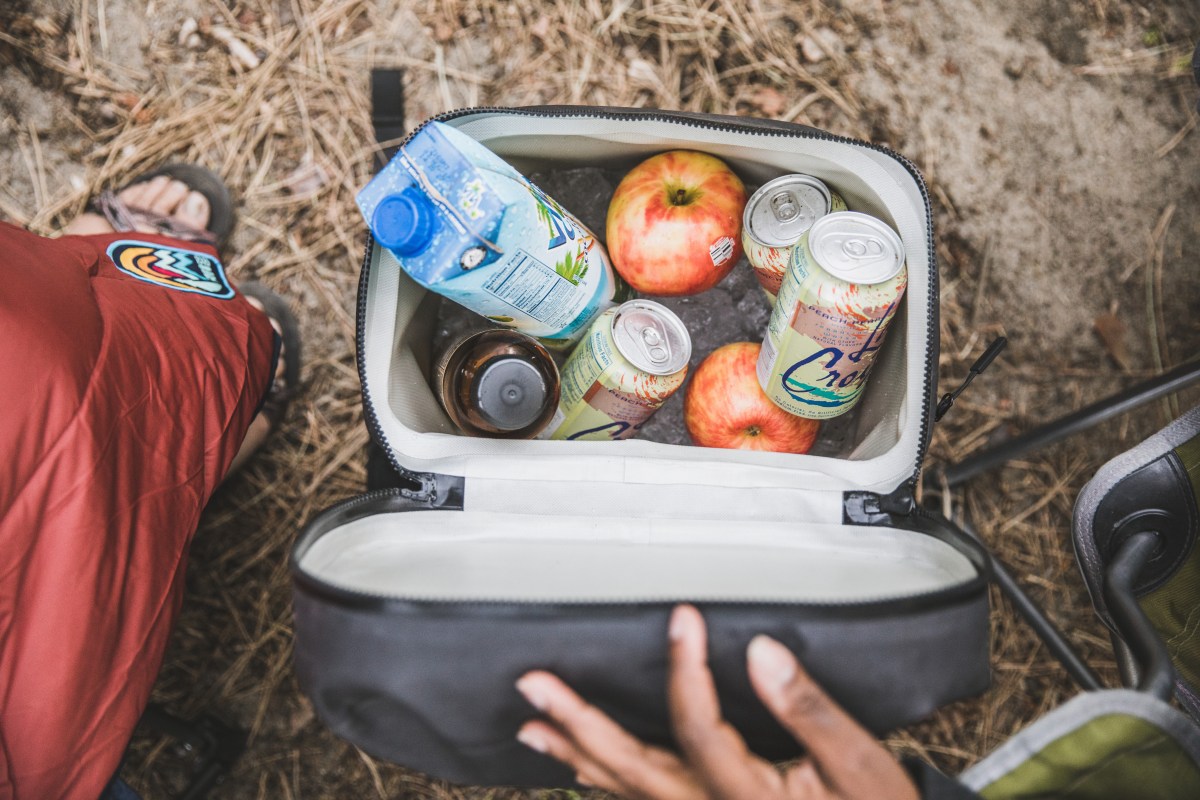
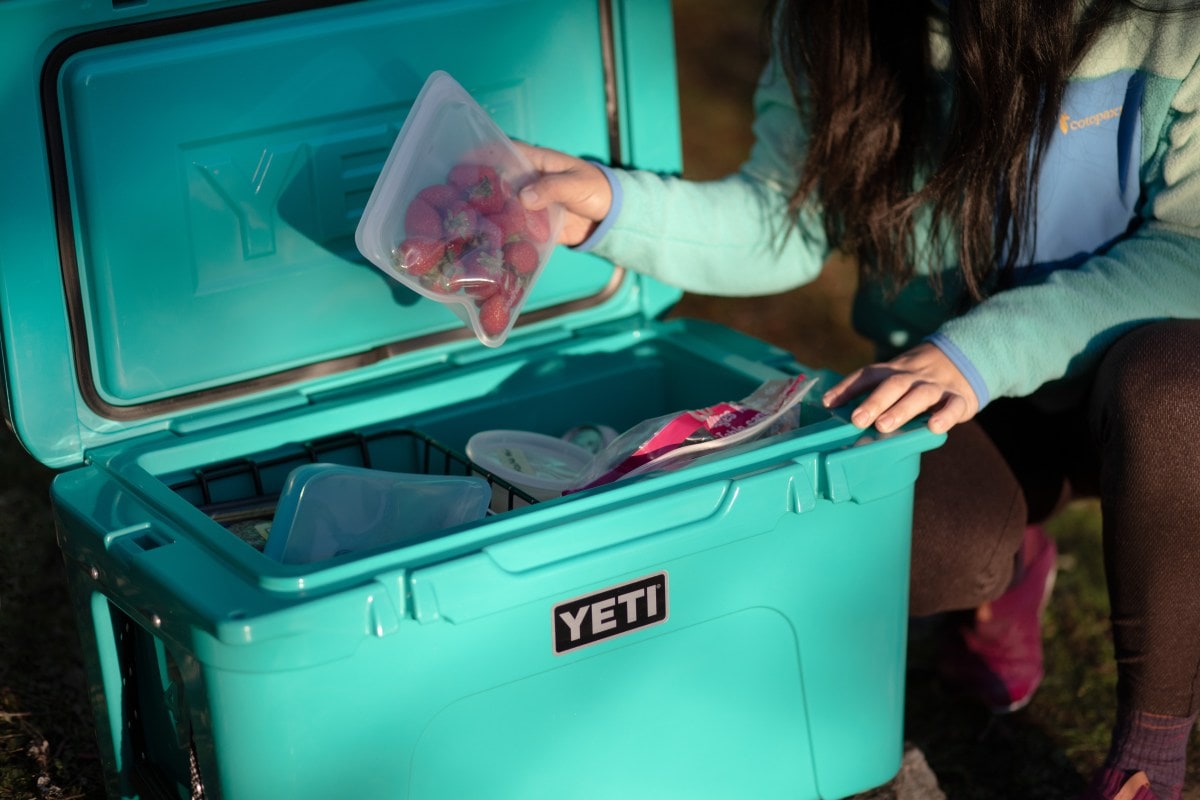
Separate Your Meals and Drinks
Individuals have a tendency to achieve for drinks extra regularly than meals, particularly on scorching afternoons. However repeatedly opening a cooler lets the chilly escape and the warmth creep in. To maintain your meals chilly (and recent), take into account stowing the bevvies in a separate cooler—then label them so individuals don’t by accident attain for the fallacious one.
Verify for Leaks
Similar to your tenting gear, coolers might require common upkeep. Search for leaky spots on yours that is perhaps letting heat air in and chilly air out. If you fill your cooler with chilly water to prechill it, see if any trickles out the perimeters or backside. The extra tightly sealed your cooler is, the colder its contents will keep.
Deliver a Lock
Heading into the wilderness? (Or an space identified for its curious squirrels or raccoons?) Use locks (or bungee cords, in case your cooler isn’t lock appropriate) to maintain your cooler protected from prying paws. This can even assist seal the lid on a hard-sided cooler and hold the zipper in your mushy cooler from opening by accident. Locks may even be used to show your hard-sided cooler right into a bear-resistant container. Be taught extra about protecting food from bears by studying our article Bear Canister Basics. (After all, all the time verify along with your wilderness space’s rules for bear containers.)
Add Insulation
Layer ice or chilly packs alongside the underside and sides of your cooler. This provides you a layer of insulation from the recent floor or trunk of your automobile that would heat your cooler quicker. If there’s an empty entrance or aspect pocket, fill it with ice. Colder coolers hold meals chiller.
Observe Good Manners
Like providing to assist with camp cleanup or bringing a dish to share, limiting the quantity of occasions you open your cooler (and let treasured chilly air out) at an out of doors gathering is simply good manners. If you stand up to seize your self one other seltzer, be a buddy and ask who else desires one as nicely. Making a single massive seize, relatively than opening your cooler a half-dozen occasions, will save your ice (and your friendships).
Freeze Your Meals
Freeze as a lot of your meals as doable earlier than you pack it and let it thaw all through the day. The frozen gadgets will act as ice blocks and hold the remainder of your meals chilly as nicely. Sizzling canine, burger patties, bread, sauces and even cheese can all be frozen and thawed earlier than cooking and consuming them.
Pack Meals Based mostly on Mealtime
Prepping a number of meals? Place the meals you’ll eat first on the prime of the cooler and subsequent meals on the underside, the place they’ll be higher lined by ice and fewer uncovered to heat air from opening the lid. This technique additionally saves you from digging via the cooler for each ingredient, decreasing the period of time you let chilly air escape.
Optimize the Area
Are you in command of the drink station? Right here’s a trick for becoming a pack of pre–chilled cans right into a hard-sided cooler with ease: Take away the cardboard flaps on one finish of the field. Place one hand over the opening and flip the field the other way up, then ease it down into the cooler earlier than eradicating your hand. Encompass the cardboard field with ice (making a stabilizing wall of types), then pull the cardboard off the cans. Voilà. You’ll have completely stacked cans, and, relying on the cooler’s dimension, the entire case will match with out you preventing to push particular person cans “deeper” into the ice.
Get Inventive
In a pinch, dry bags make nice options to coolers. Fill an empty dry bag with meals or drinks and, if doable, ice. Press out extra air (to stop floating), seal the highest and place the dry bag in a lake, calm river eddy or tidal pool. Be certain to connect it to a ship or the shore—there’s no higher social gathering foul than all of your drinks floating away. The chilly water will assist hold the gadgets in your dry bag chilled, with or with out ice.